Are you struggling with inconsistent dimensions or surface roughness in your automotive molds? You're not alone—many mold makers face this challenge during high-volume production. But what if you could reduce variability by up to 40% using proven techniques and real-time control systems?
In our experience working with Tier-1 suppliers across Europe and North America, we’ve identified five critical factors that directly impact consistency:
Take the case of a major engine block mold manufacturer in Germany. Before implementing these strategies, their Ra values averaged 3.2 μm ± 0.7 μm across batches. After integrating DC1317’s dual-column structure and online measurement system, they achieved consistent Ra = 1.8 μm ± 0.3 μm—a 44% improvement in surface quality repeatability.

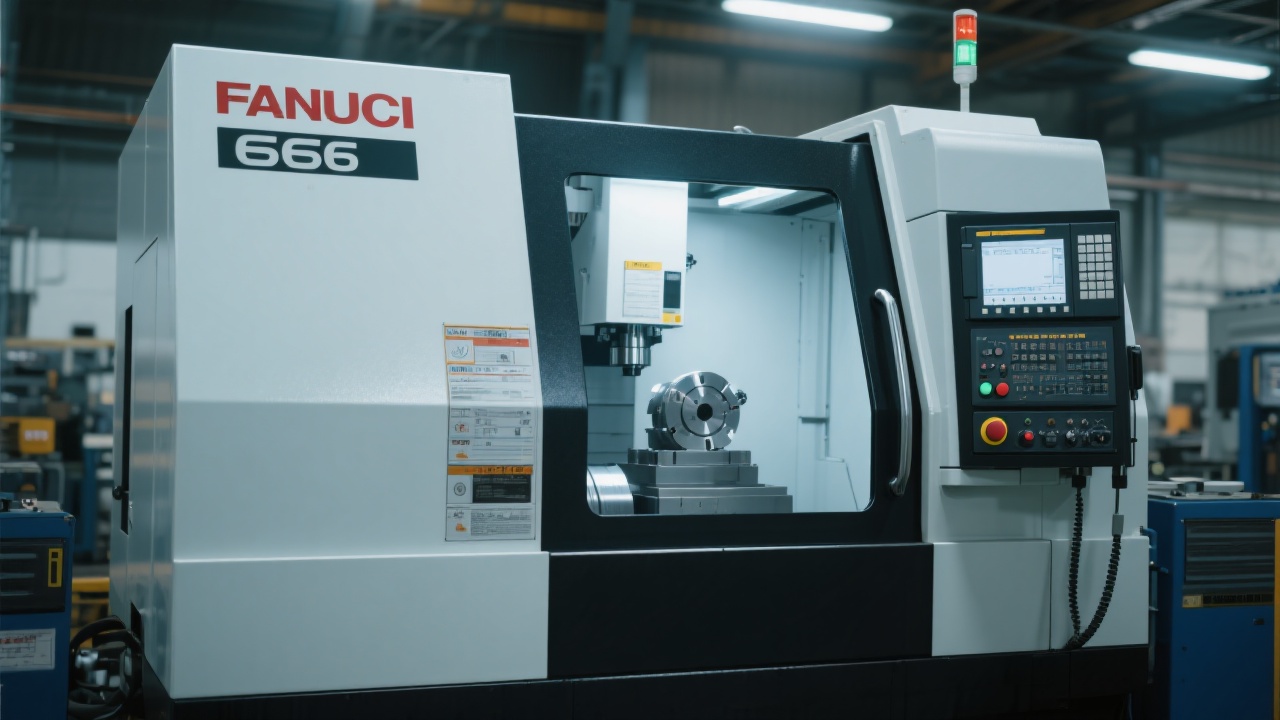
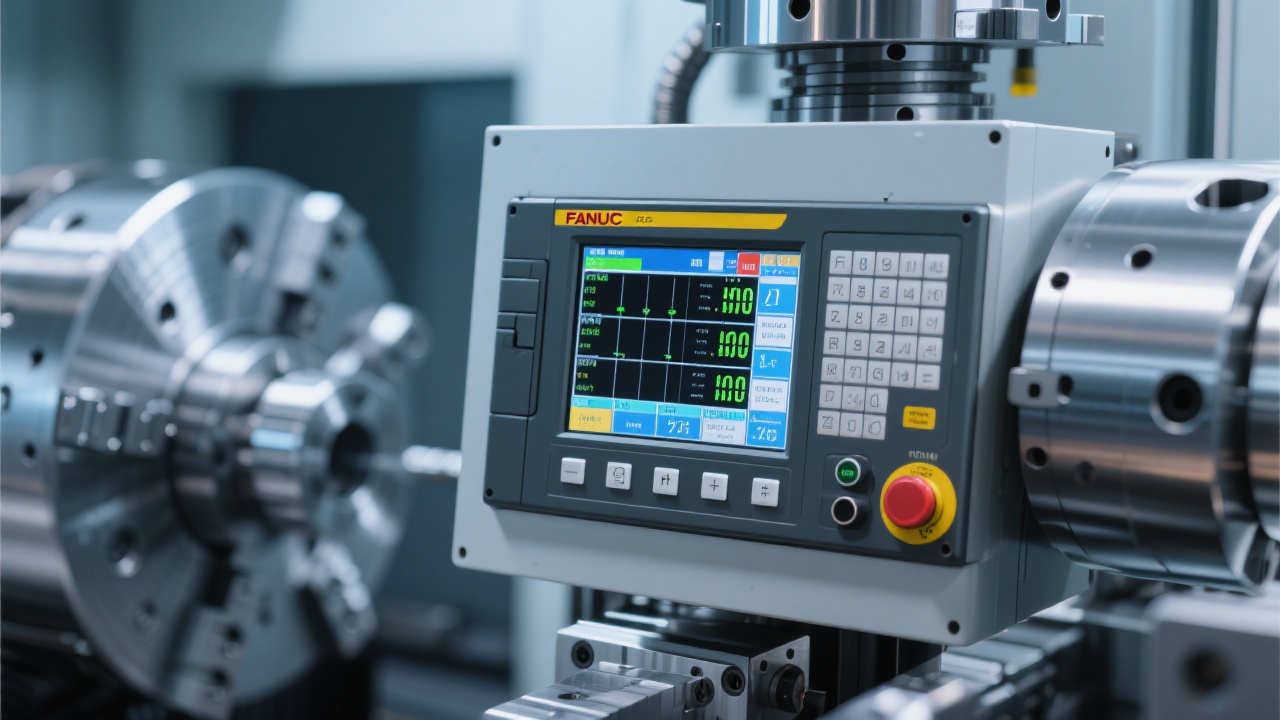
The DC1317 double-column vertical machining center isn’t just another CNC machine—it’s a precision ecosystem. Its rigid frame minimizes deflection under load, while the integrated optical measurement system provides live feedback on geometry, allowing automatic correction before defects propagate.
| Parameter | Before Optimization | After DC1317 Integration |
|---|---|---|
| Average Ra (μm) | 3.2 ± 0.7 | 1.8 ± 0.3 |
| Repeatability (μm) | ±15 | ±5 |
| Cycle Time Increase | N/A | +3% (due to adaptive compensation) |
This is how top-tier mold shops achieve zero-defect delivery—even when producing thousands of identical parts per month.

We’ve collected common questions from engineers like you:
Q: How do I integrate online measurement without slowing down production?
A: The DC1317 uses non-contact sensors that scan at 200 Hz—fast enough to catch deviations without interrupting cycle time.
If you’re still unsure about applying these methods to your specific process, drop your question below—we’ll respond within 24 hours.

Let’s make every mold batch as precise as the last—no exceptions, no compromises.

