In automotive mold manufacturing, achieving consistent dimensional accuracy and superior surface quality remains a significant challenge for many precision machining professionals like you. Variations in size tolerances and surface roughness often lead to rework, increased costs, and delays in product delivery, jeopardizing your competitive edge in a demanding industry.
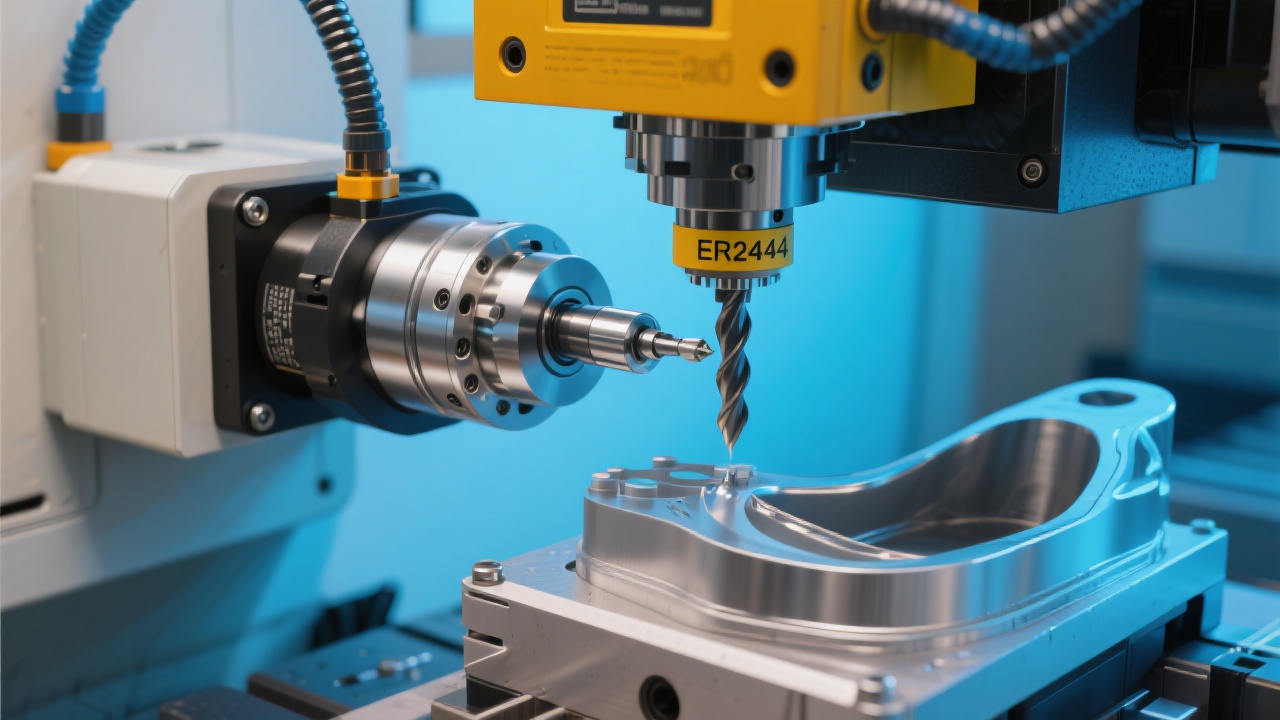
If you have experienced unexpected vibrations during mold machining, fixture rigidity might be the root cause. When the clamping system lacks stiffness, dynamic deflections can exceed 20 microns, drastically affecting dimensional precision and causing irregular surface finish.
Practical tip: Incorporate hardened steel plates and reinforced gussets into your fixture design to double stiffness levels, reducing vibration-induced deviations by up to 40%. Also, ensure precise alignment of the workpiece to avoid micro-movements during spindle operations.
You can significantly improve surface roughness (Ra value) and throughput by fine-tuning cutting speeds, feed rates, and depth of cut. For example, reducing feed rate from 0.15 mm/rev to 0.07 mm/rev during finishing can trim surface roughness from Ra 0.8 µm down to Ra 0.3 µm, resulting in visibly smoother mold cavities.
However, excessively slow parameters might elongate cycle times. Strive for a balanced optimization that maintains machining efficiency around 15-20% faster than your current benchmark without compromising quality.
Thermal expansion during long machining cycles causes geometric distortions, especially in large automotive molds like engine blocks. These deformations of up to 50 microns can easily breach your tolerance stack-ups.
Implementing active cooling and temperature compensation models integrated into CNC control systems helps predict and counteract thermal drift. You might consider monitoring spindle and ambient temperatures in real-time and adjusting tool paths or feed rates dynamically to maintain dimensional integrity.
Your experience tells you that machining intricate mold surfaces demands more than standard programmed paths. Advanced tool path strategies like adaptive stepover, trochoidal milling, and multi-axis synchronization reduce tool load fluctuations and prevent chatter.
By using CAM software modules that simulate and optimize your tool trajectories, you can balance material removal rates with minimized surface scallops, achieving a consistent finish while enhancing tool life by approximately 30%.

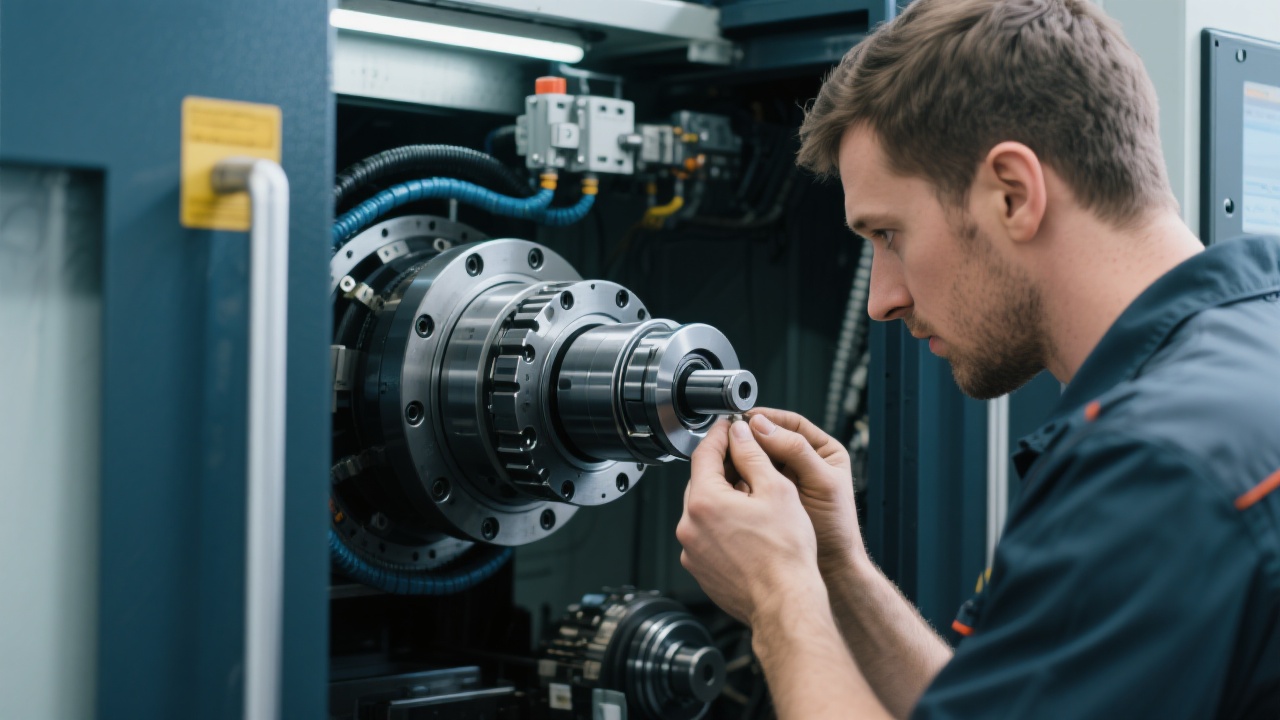
Over time, your machining center’s geometric inaccuracies—such as linear axis backlash, squareness errors, and spindle runout—contribute cumulatively to part deviations. Regular in-situ calibration using laser interferometers or ball bar tests enables you to generate compensation maps.
Applying these corrections within the CNC control software ensures that the machine inherently accounts for its own imperfections, sustaining dimensional repeatability within ±0.01 mm across extended production runs.
The DC1317 model’s high-rigidity double-column construction combines with closed-loop control systems offering stable, vibration-free performance across multiple machining operations. When applying the five techniques shared above, this machine allows for layered roughing and finishing runs that improve overall mold dimensional consistency by over 15% and surface finish uniformity by at least 20% compared to traditional centers.
Take, for instance, engine block mold machining—a demanding process requiring strict geometric tolerances. Using DC1317’s robust structure and precision compensation integrated controls, you maintain tight process windows, reducing scrap rates and accelerating delivery schedules.


