Eliminating Mold Machining Deviations with Geometric Accuracy Compensation and Closed-Loop Control
23 11,2025
Application Tips
In automotive component mold manufacturing, dimensional deviations and surface roughness fluctuations remain ongoing challenges. This article delves into five critical process techniques to enhance large mold machining accuracy: fixture rigidity design, cutting parameter optimization, thermal deformation management, toolpath planning, and geometric accuracy compensation. Leveraging the stability of dual-column CNC milling machines combined with online measurement enables closed-loop control, significantly improving machining consistency and quality yield. Supported by practical case studies, operational data, and schematic diagrams, this guide empowers manufacturers to meet the rigorous standards of the automotive industry and optimize their production workflow.

Why Do Your Mold Machining Operations Keep Falling Short? Master Geometric Precision Compensation for Closed-Loop Control
When working with automotive component molds, you’re likely no stranger to the recurring challenges of dimensional deviations and inconsistent surface roughness. These issues not only cause rework but can also jeopardize compliance with industry standards and delay your delivery cycles. To sharpen your competitive edge, understanding and implementing advanced machining strategies is essential.
Key Factors Affecting Large Mold Machining Precision
Large automotive molds demand precise control over process variables to meet stringent tolerances typically within ±0.01 mm. Here are five critical techniques to refine your machining process:
- Fixture Rigidity Design: Enhancing fixture stiffness minimizes vibration and deflection during cutting, crucial for molds exceeding 1000 kg.
- Cutting Parameter Optimization: Adjusting spindle speeds, feed rates, and depth of cut based on material and tool characteristics reduces thermal distortion and tool wear.
- Thermal Deformation Control: Real-time temperature monitoring and cooling strategies counteract warping from heat buildup during prolonged cycles.
- Tool Path Planning: Layered roughing and finishing toolpaths created via CAM software ensure consistent material removal and surface quality.
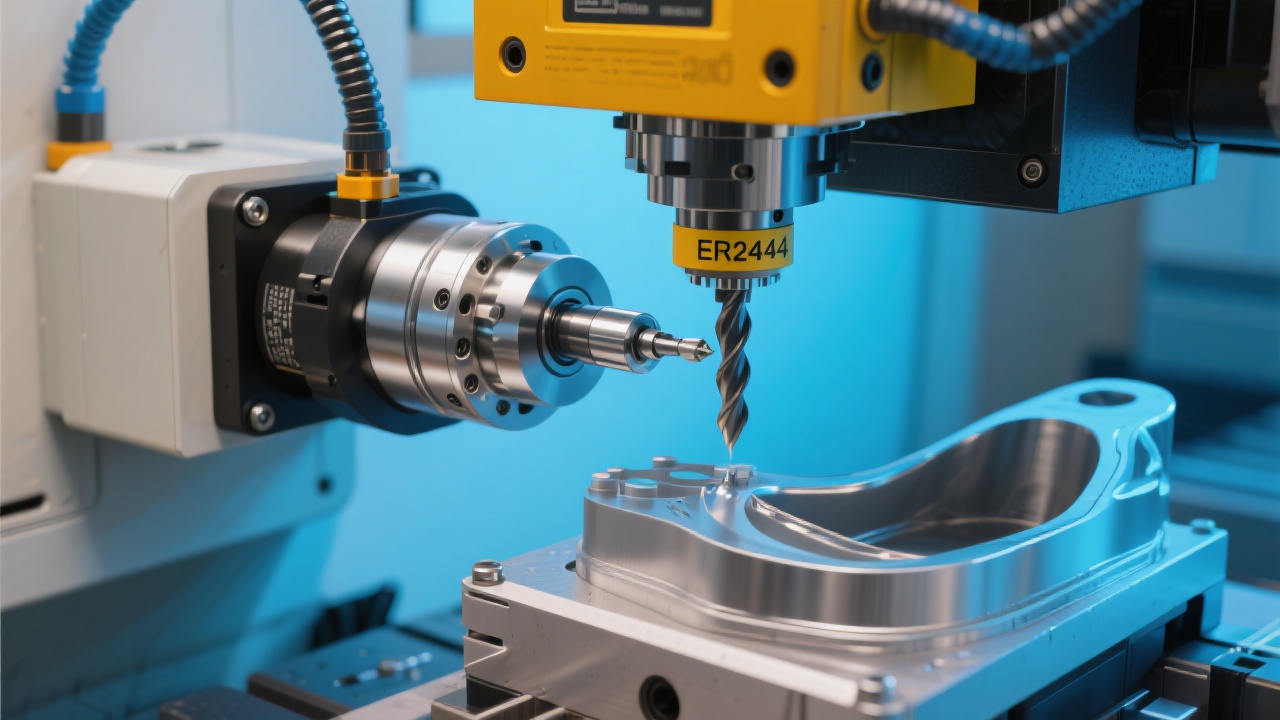
- Geometric Precision Compensation: Integrating online measurement feedback allows for dynamic correction of tool position errors, achieving closed-loop control.
Leveraging Double-Column CNC Milling Machine Advantages
Double-column CNC milling centers provide exceptional structural stability and large working envelopes, perfectly suited for heavy automotive molds. Their inherent stiffness dramatically reduces deflection, enabling:
| Feature |
Benefit |
Impact on Precision |
| Rigid Dual Pillar Structure |
Minimizes chassis deformation |
Ensures ±0.005 mm repeatability |
| Large Moving Table |
Accommodates oversized molds |
Reduces handling errors |
| Dual Spindle Options |
Enables simultaneous rough and finish machining |
Increases throughput without sacrificing accuracy |
Closed-Loop Control through Online Measurement and Geometric Compensation
Static setups can no longer guarantee the precision demanded by today’s automotive molds. Closed-loop control integrates real-time data acquisition with the CNC controller, enabling geometric precision compensation during machining:
- Online Measurement Systems: Contact or optical probes verify critical dimensions mid-process without removing the workpiece.
- Data Feedback: Measured deviations feed into the CNC system, which dynamically adjusts tool paths.
- Compensation Algorithms: Advanced software calculates geometric errors including thermal expansion, tool wear, and fixture deformation.
- Process Stability: Closed-loop control achieves repeatable tolerances with yield improvements up to 25% based on case studies.

Case Study: Precision Improvement in Mold Manufacturing
A leading automotive mold manufacturer incorporated geometric precision compensation using a double-column CNC with integrated probing. Key results after implementation:
| Metric |
Before Compensation |
After Compensation |
| Dimensional Deviation (mm) |
±0.03 |
±0.008 |
| Surface Roughness (Ra μm) |
1.6 – 2.0 |
0.8 – 1.2 |
| First Pass Yield Rate |
72% |
94% |

Implementing These Techniques in Your Production
Consider the following actionable steps to harness the full potential of geometric precision compensation:
- Assess your current fixture design: Identify weak points causing deflection; reinforce or redesign with finite element analysis.
- Optimize cutting parameters: Use data analytics to create adaptive cutting conditions that minimize thermal load.
- Invest in online measuring probes: Choose contact or non-contact options based on your part’s complexity and production volume.
- Upgrade CNC controllers: Ensure compatibility with compensation software modules and real-time data integration.
- Train engineers and operators: Facilitate knowledge transfer for effective closed-loop control system management.

Your Questions Answered: Interactive Q&A
Q1: How much does implementing geometric compensation improve mold accuracy?
Typically, companies see a dimensional deviation reduction from ±0.025 mm down to ±0.007 mm, with surface finish improvements and yield rate boosts of up to 25%.
Q2: Is online measurement compatible with existing double-column CNC machines?
Most modern double-column CNCs support integration through retrofit kits and standardized communication protocols (e.g., Ethernet/IP, MTConnect).
Q3: What maintenance does a closed-loop system require?
Routine calibration of probes and validation of compensation parameters every 3 to 6 months is recommended to sustain accuracy.

